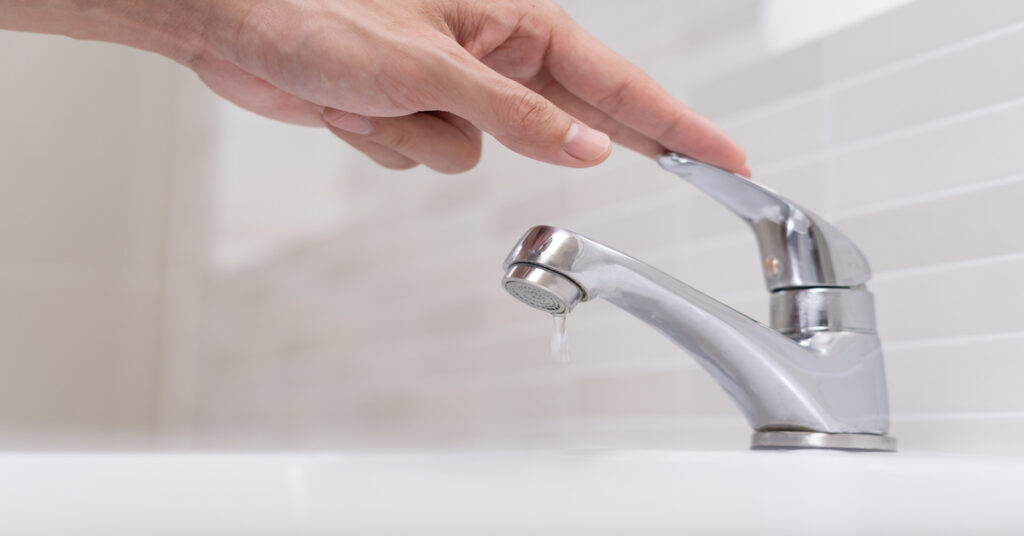
Leaky faucets can be a real headache, costing you extra on water bills and driving you nuts with that constant drip-drip sound. Knowing why they happen is your first step to fixing them right.
Most leaks in bathroom faucets happen because of worn-out washers, damaged seals, or issues with the O-rings. These are small parts but they play a big role in keeping your faucet drip-free.
Leaving a leaky faucet unattended isn’t a great idea. It can lead to more severe damage down the line. Plus, who wants to deal with mold or water damage? Not me, and I bet not you either.
Faucets come in different styles, and understanding whether you have a single handle or double handle faucet can affect your repair approach. Single handle faucets control both hot and cold water with one lever, while double handle faucets have separate handles for hot and cold water. Knowing this helps you get the right repair parts and follow the correct steps.
Understanding Warranty Benefits for Faucet Cartridges
Many manufacturers offer impressive warranty programs that can save you money on replacement parts. For instance, brands like Moen may have lifetime warranties on their faucet cartridges, allowing you to get free replacements at authorized retailers such as Home Depot or directly through the manufacturer. Similarly, Delta and Kohler also offer substantial warranty coverage for their faucet components. These warranty programs typically cover defects in materials and workmanship, meaning if your cartridge fails due to manufacturing issues, you can obtain a replacement at no cost. To take advantage of such warranties, keep your original purchase receipt, contact the manufacturer’s customer service, or visit an authorized service center. Always check the specific terms of the warranty, as conditions may vary between manufacturers, and some warranties might require proof of purchase or have specific limitations on coverage.
Step-by-Step Guide to Repairing a Single Handle Faucet
Got a single handle faucet that’s decided to leak on you? Let’s get you on the path to fixing it up. First things first, gather your essential tools: an adjustable wrench, a flathead screwdriver, some replacement parts (usually a cartridge or O-ring), and plumber’s tape.
Start by shutting off the water supply. You don’t want a mini flood on your hands. Next, remove the faucet handle. Usually, there’s a small screw hidden somewhere. Use the flathead screwdriver to remove it and lift off the handle.
Now, you’ll see a retaining nut or clip. This holds the cartridge in place. Use your adjustable wrench to remove the nut and slide out the old cartridge. If it’s stuck, a bit of wiggling should free it up.
Once you have the faucet disassembled, carefully inspect the faucet housing for any signs of excessive wear, cracks, or damage, as these issues may require further repairs or replacement.
Finding the Right Faucet Cartridge Replacement
When fixing a leaking faucet, selecting the correct cartridge replacement is crucial for a successful repair. Start by identifying your faucet’s brand and model, as this information will guide you in finding the right cartridge. If you can’t locate the model number, remove the faucet handle and inspect the existing cartridge for any identifying marks or numbers.
Take the old cartridge to a local hardware store or plumbing supply shop for comparison; many stores have knowledgeable staff who can assist you in finding an exact match. Additionally, consider checking the manufacturer’s website for specific replacement parts or diagrams that can help you identify the right cartridge. By following these steps, you’ll ensure a smooth repair process and restore your faucet’s functionality efficiently!
Take your new cartridge and slide it into place, ensuring it’s aligned correctly. Secure it with the retaining nut or clip. Replace any worn O-rings you see and apply a little plumber’s tape to ensure a snug fit.
Reassemble the faucet by putting the handle back on and securing the screw. Turn on the water supply and test the faucet for any leaks. If everything’s tight, you should be good to go!

Fixing a Dripping Double Handle Faucet
Double handle faucets are a bit different from their single-handle cousins, but fixing them isn’t rocket science. First, gather up your tools: an adjustable wrench, flathead and Phillips screwdrivers, replacement cartridges or washers, and some plumber’s tape.
Turn off the water supply to avoid any mess. Remove the caps on the faucet handles to access the screws. Use your Phillips screwdriver to undo these screws and take off the handles. You’ll see the valve stem underneath, often secured with a nut.
Use your adjustable wrench to loosen this nut and remove the valve stem. If you’re replacing washers, they should be at the base of the valve stem. Swap the old washers for new ones. If the whole cartridge needs changing, pull out the old cartridge and slide in the new one, making sure it’s positioned correctly.
Reassemble everything by putting the valve stems back in place and securing the nuts. Reattach the handles and screw them in securely. Turn your water supply back on and test for leaks. Everything should be tight and drip-free!

Visual learners, check out down below this handy YouTube video that shows each step. It’s always helpful to see someone else do it first, right?
Preventive Maintenance and Future Leak Prevention
Regular maintenance is key to avoiding those pesky leaks in the future. A little effort now can save you tons of hassle later. Start by periodically checking your faucet handles and spout for any signs of wear. If you spot any, deal with them before they turn into bigger issues.
Don’t ignore a slow drip. Even small leaks can lead to bigger problems like water damage and mold growth. Addressing them early can prevent more extensive repairs down the line.
When it comes to repair parts, quality matters. Invest in high-quality cartridges, washers, and O-rings. They last longer and perform better, reducing the chance of future leaks.
Knowing what to look for can also help. Regularly inspect your faucet for any changes in water pressure or unusual noises. These can be early signs of wear and tear, letting you fix issues before they escalate.
Finally, resources like video tutorials and forums can be incredibly helpful. They’re great for getting tips from other DIY enthusiasts and professionals. Bookmark a couple of trusted YouTube channels for easy reference during future repairs.
Click here to learn “How to fix a leaky shower faucet“
Here’s a little transparency: Our website contains affiliate links. This means if you click and make a purchase, we may receive a small commission. Don’t worry, there’s no extra cost to you. It’s a simple way you can support our mission to bring you quality content.